The new Windows Azure Management Portal now supports Service Bus management and monitoring. This is one of the new improvements of the new portal. This will mean a new experience for the user compared to the older management portal based on Silverlight. The functionality remains similar as per creating a namespace, creating queues and topics.

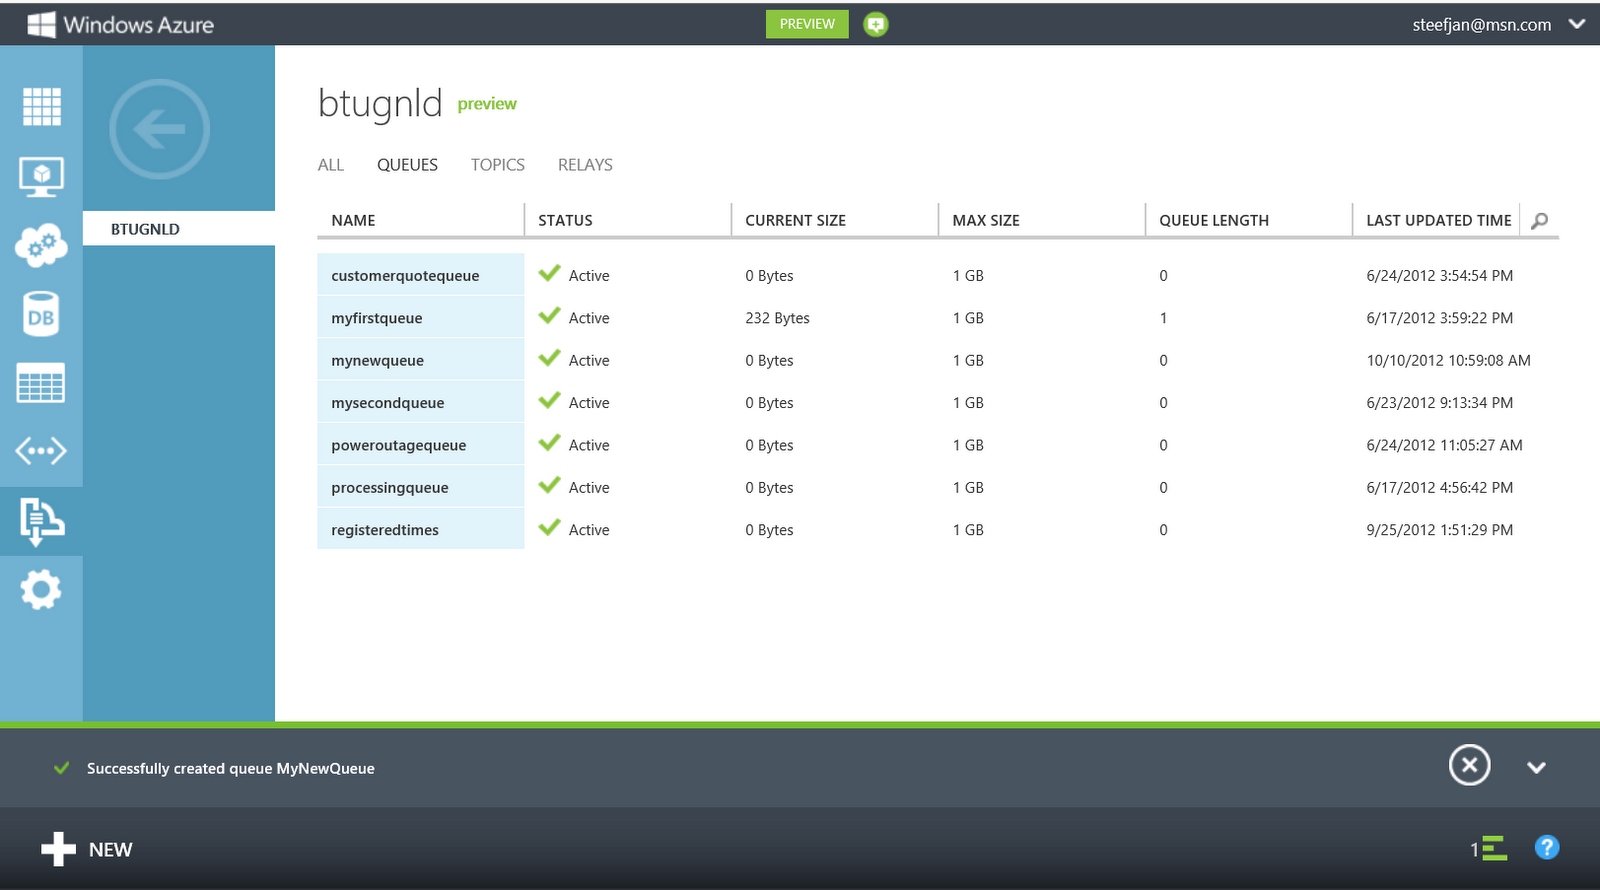
Above you see a screenshot of Service Bus management in the old portal and below a screenshot for the new portal.

As you can see the look and feel is totally different. The ALL tab gives an overview of all the Queues, Topics, and Relays. Compared to the old portal the relays are now visible. Queues, topics and relays can be viewed separately by clicking the its tab. For instance the relay tab in my case will show the relays.

You will find more on working with relays using the new portal through Trying Out the New Windows Azure Portal Support for Relay Services blog post by Richard Seroter. On each tab you will find + NEW button on the left hand corner below. If you click NEW a dialog will appear.

Now you have to ability to create a new queue, topic or relay. You can create a new queue for instance through QUICK CREATE with default settings or CUSTOM CREATE with custom settings. If you for instance want to create a custom queue you can click CUSTOM CREATE. A Wizard will start and you will have to fill in a Queue name, region (i.e. data center), subscription (one you create when signing up for Azure) and Namespace (which can be created through Service Bus service view by clicking CREATE button in menu below).

Next step is configuring the queue by determining the max size, message time to live, move messages to dead letter queue, lock duration, duplication detection and enable session.

If you now click the check mark button the queue will be provisioned.
As you can see the queue is created and visible in the portal. You can click the newly created queue and see some characteristics in a dashboard.
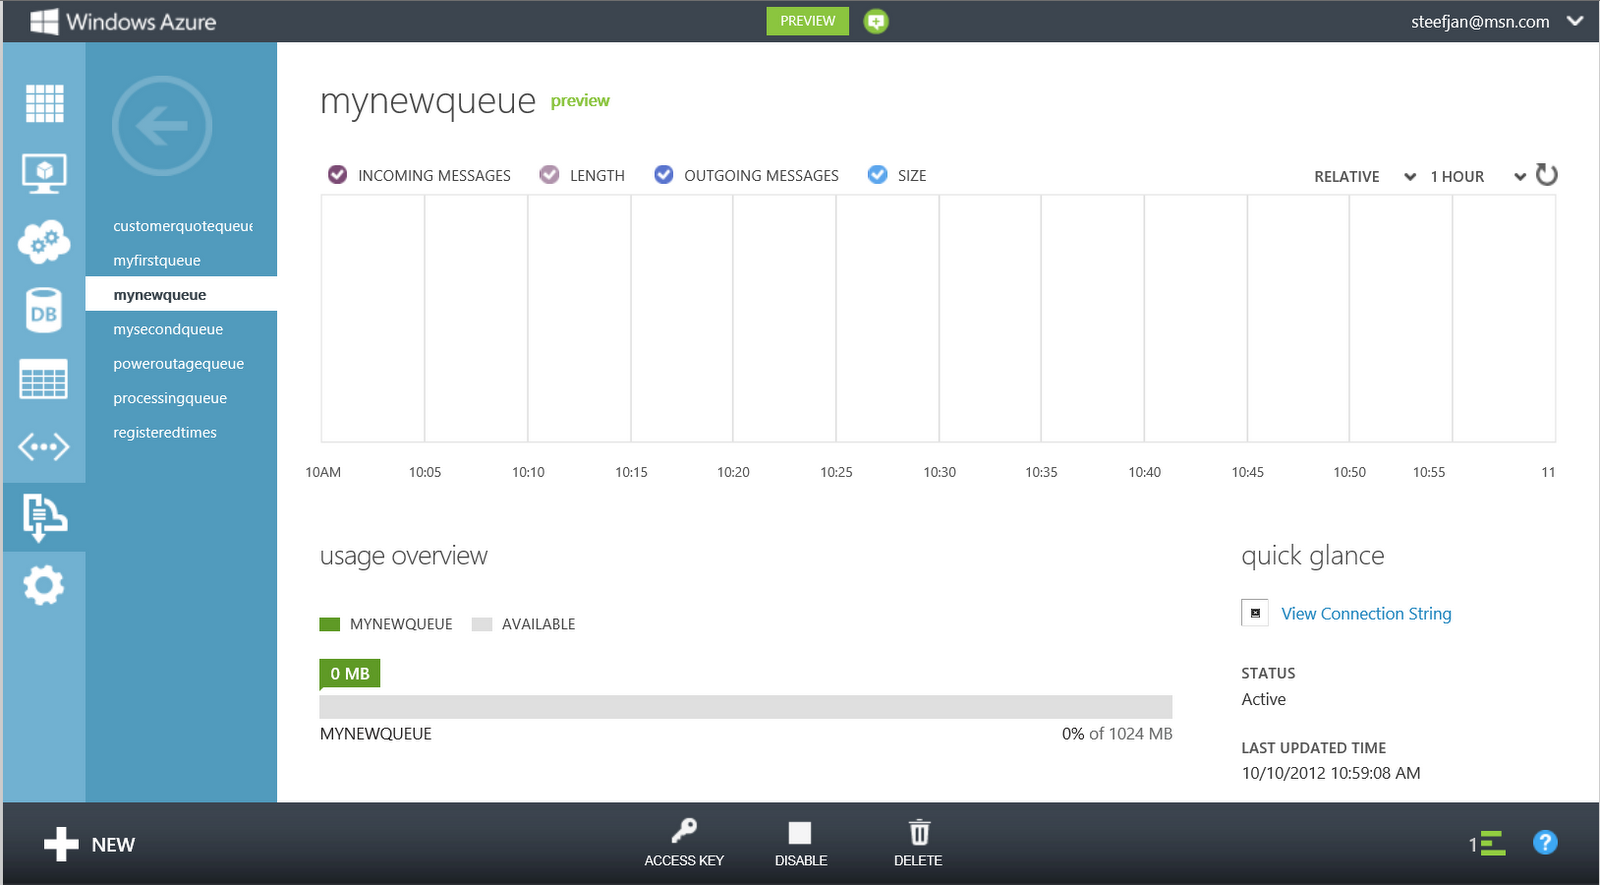
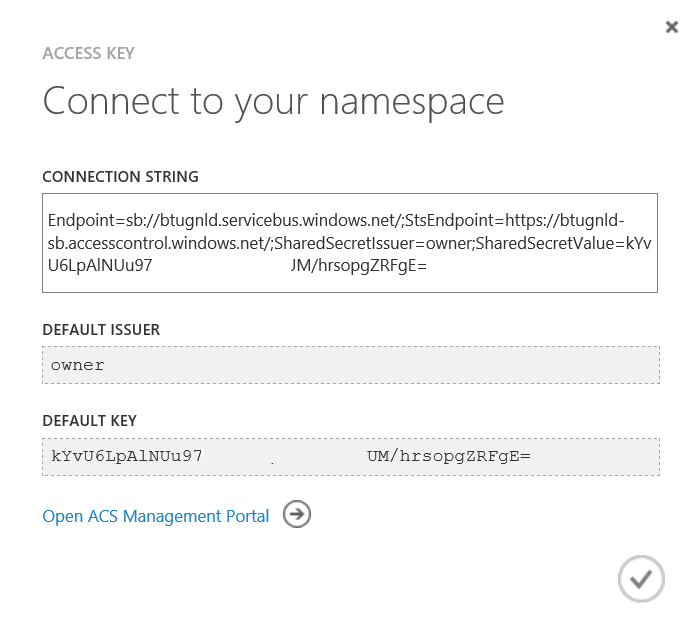
You have to ability now to view the connection string of the queue, delete, disable it or view the access key. By click the access key a dialog will pop up showing you the connection string, default issuer, default key and link to ACS Management Portal.
The walkthrough above showed you how to create and manage a newly created queue. For creating a topic the steps are similar. For relays see Richard’s post. As you can see new portal gives you a new user experience, yet same functionality and new enhancements compared to the old portal.
But you will never know when the downtime will occur in order to reduce it, ensure Monitoring of Azure Service Bus continuously
Finally, I also like to point out that you can also manage the service bus through Visual Studio 2012, or Service Bus Explorer. I did a comparison between the too in my Visual Studio Service Bus Explorer versus Standalone Service Bus Explorer blog post.
Cheers,
Steef-Jan