Last year in December 2012 during the BizTalk Summit we first as a preview saw the progress Microsoft BizTalk Product Team made on the BizTalk Services. Now it is here as preview for the general audience. Fellow Microsoft Integration MVP’s Kent Weare (Introducing Windows Azure BizTalk Services Preview –Part 1, Part 2) and Richard Seroter (Walkthrough of New Windows Azure BizTalk Services) shared there views and experiences with BizTalk Services. Now I will share you mine.
My previous post was about setting up BizTalk Services and the post made by Sam VanHoutte proved to be very useful. In this post I like to delve into building a BizTalk Service project that is going to expose some data from a SQL Server database. I have build a BizTalk solution that recieves messages from runners participating a half marathon race from a Windows Azure Service Bus Topic called race.
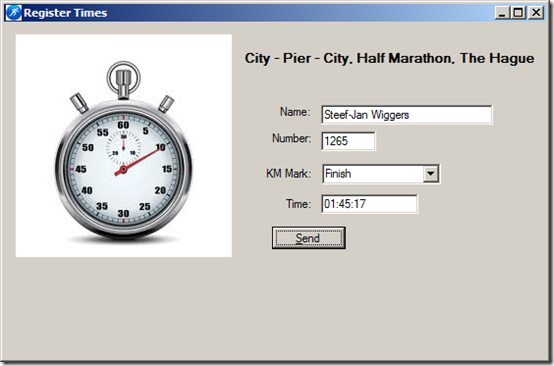
Messages are send from an application or device.
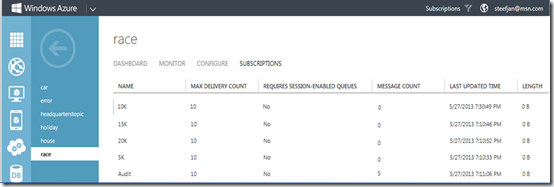
The Messages are send to topic race.
Messages are picked up from each subscription by BizTalk.
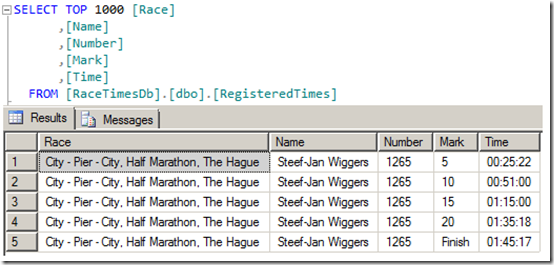
The recieved messages are stored in a SQL Server database.
Now the BizTalk Service solution will expose that data to a runner showing himher the end results of hisher race.
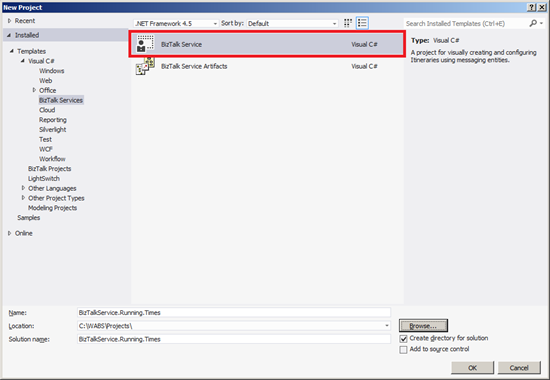
The BizTalk Service solution template is present in Visual Studio 2012. To create a BizTalk Service solution you will need that template.
Now to develop your solution you will need to go through a series of steps depending on what kind of solution you want to build. In my case I like to create a XMLRequest/Reply Bridge that connects to a SQL Server database on-premise. To expose the data I need to create and configure a LOB Target (SQL in this scenario).
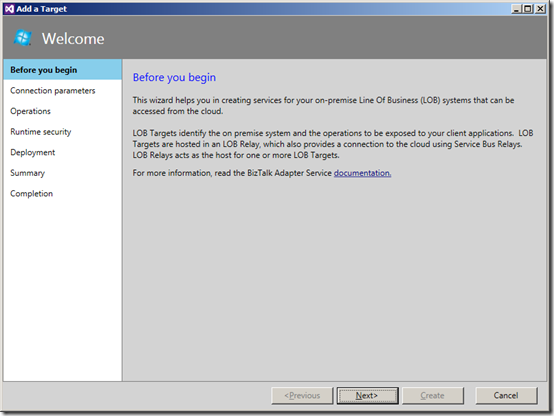
Creation and configuration of the SQL Target is guided by a Wizard. The Wizard will guide you through the process.
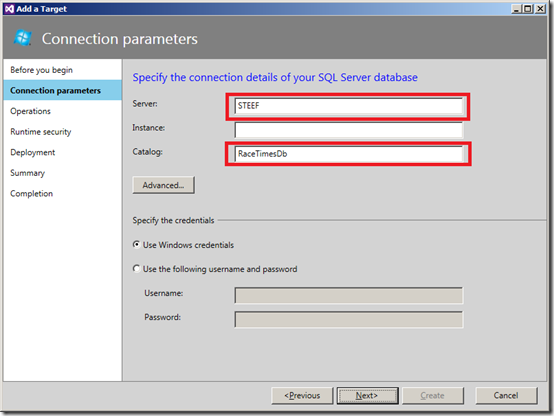
First step is specifying the connection parameters. You need to specify the details for the SQL Server to connect to and the credentials to use for the connection.
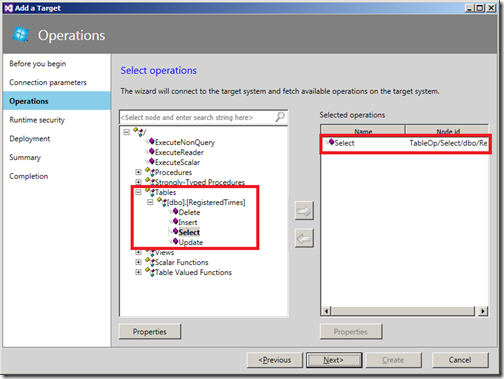
Second step is specifying the Operations. Here you can expand the objects within SQL Server. I expanded Tables, and then Table and selected the Select Operation. The Select operation is now be listed under the selected categories section.
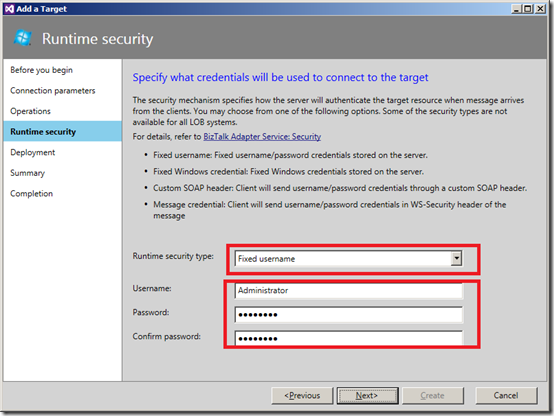
Third step is specifying the security type for SQL target. The security type determines how the client message is authenticated with the LOB Target.
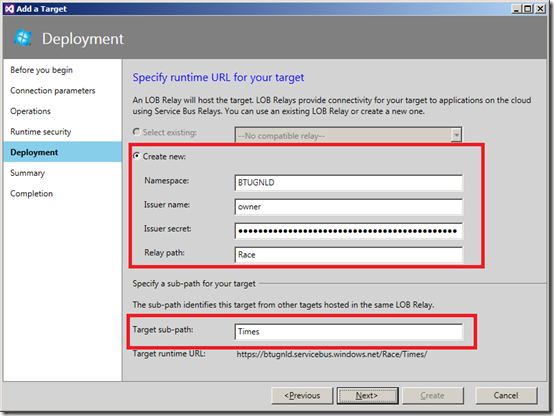
Fourth step is specifying the deployment of Relay endpoint. You can choose between an existing LOB Relay or create a new LOB Relay
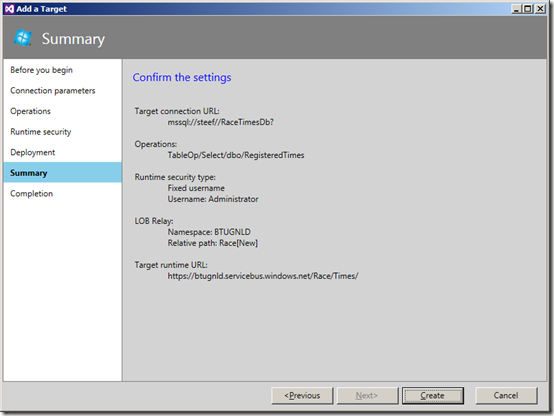
Finally a summary will be shown before you can execute the creation of the SQL Target.
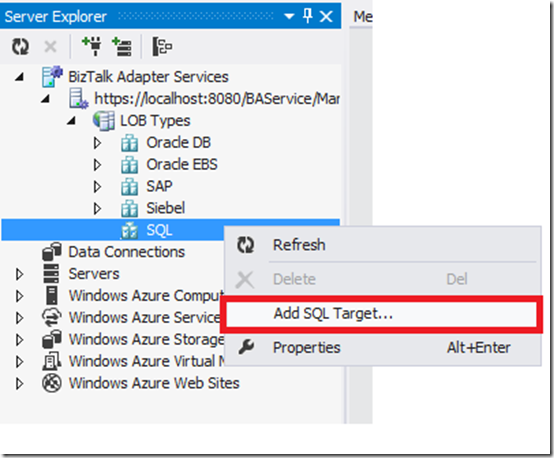
When you click create a the LOB Target is created in Server Explorer.It is created as an application in IIS and uses the runtime for a specific LOB Target, in this case SQL.
To use the LOB Target you will have to update the BizTalk Service URL. Right click in the BizTalk Service project design surface, select properties and update the BizTalk Service URL property to include your BizTalk Services name.
Next set the security for the relay endpoint. Right-click the relay endpoint in Server Explorer and select Properties. In the Properties grid, click the ellipsis (…) against the Runtime Security property. In the Edit Security dialog box, select Fixed Windows Credentials and specify username and password to connect to the SQL Server. Then Click Ok.
Now you can drag and drop the LOB Target onto the design surface. Note that the Entity Name property of the LOB Target is defaulted to runner_times.
Another thing you need to do is open the .config file for the LOB target, which typically has the naming convention as YourRelayPath_target-sub-path.config. Specify the Service Bus issuer name and issuer secret,
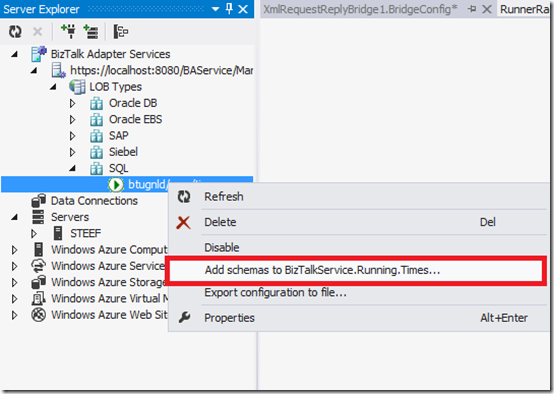
After changes the config can be saved. The next step is to add the schemas for Select Operation.
Now I have my SQL LOB Target created and configured. Next I create a map. This map will map the request (runner number, see schema below) to select request for database table (RegisteredTimes).
Now the mapping is pretty straight forward. The BizTalk Service mapper is not the same as the mapper you use with BizTalk projects. The mao I created is the only map I will use in the bridge.
For my solution I will use a RequestReply bridge, so I drag a XML Request-Reply Bridge from toolbox to the designer.Next I drop the LOB Target on the designer. Then I click on the connector in toolbox and configure a connector between XML Request-Reply Bridge and the LOB Target.
By clicking on the XMLRequestReplyBridge you can configure the bridge. You will see a kind of pipeline flow or itinerary with Message Validation, Enrich, Transformation and Enrich (VETE) kinda activities. Here you add the request and response schemas to the Message Type box.
Next you can select map in one or both Transform activity.
In case you validation functions you add them in XML Validate activity or enrich functions you can add in Enrich activity. My Bridge configuration looks like below:
Now after configuring the XMLRequestReplyBridge I need to configure the filter condition on the connector between the bridge and the LOB Relay entity.
In my case I am not going to restrict any messages from continuing to my LOB target so I selected Match All. I do have to set a Route action so that the outgoing message to the LOB application has a SOAP action header.
Note: Do not forget the singel qoutes between the expression!
For the expression you can open Server Explorer and navigate to the LOB Target that you created. Right click the LOB Target and click Properties. Under Operations tab, copy the value of the operation.
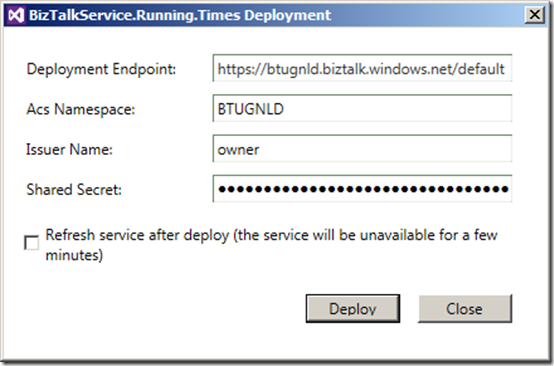
Now my solution is ready to be build and deployed. I right click my project and select Deploy. A Window will pop up asking for the Acs Namespace for the BizTalk Services, Issuer Name, and Shared Secret.
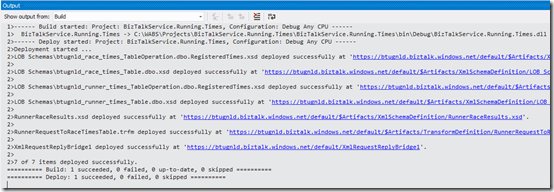
I click Deploy and solution will be deployed. The Visual Studio Output pane displays the deployment progress and result. The URL where the bridge is deployed is also displayed in the Output pane.
There are quite a few steps involved for building a Service Bus solution. Even for this one it took me some time to build. To test the solution you will need to download the MessageSender tool from Windows Azure BizTalk Services Samples. Once you downloaded the tool, you unpack, open it in Visual Studio and build the project. You can now use the resulting MessageSender command line executable to send messages to the deployed bridge end points. This tool accepts command line parameter, and the sequence and usage of those parameters is given below:
MessageSender.exe <ACSNamespace> <IssuerName> <IssuerKey> <RuntimeAddress> <MessageFilepath> <ContentType>
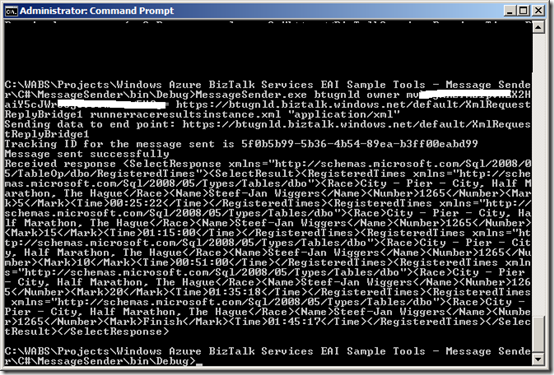
Below you can see the command I executed with the tool:
Now as you see the data belonging to me with race number 1265 is returned. So far so good and I encourage you to try this new technology out. It looks promising. In upcoming posts I will dive into some of the aspects of the BizTalk Services.
Cheers,
Steef-Jan

