One of new SOA capabilities in BizTalk Server 2009 are UDDI services. I found an article at Packt Publishing written by Richard Seroter. UDDI stands for Universal Description and Discovery Information and is a type of registry whose primary purpose is to represent information about web services. As I was reading the article it gave me an itch to try this UDDI stuff out myself. So I opened my BizTalk 2009 Sandbox (VPC environment) and noticed UDDI was not installed. To let you know what to do I decided to create this post to show how UDDI is installed on a BizTalk 2009 Development Environment.
BizTalk Server and UDDI 3.0
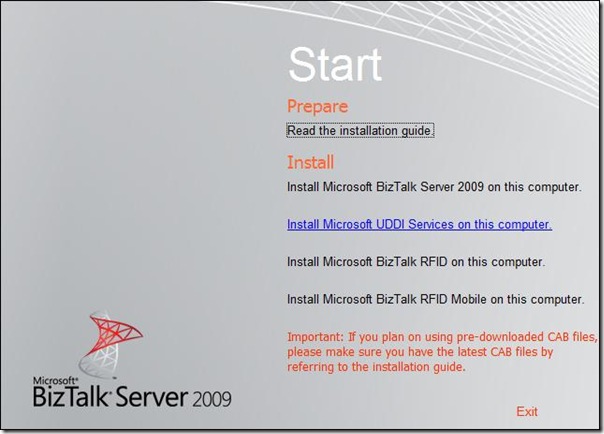
I fired up BizTalk Server 2009 CD and installed UDDI Services on my Sandbox.
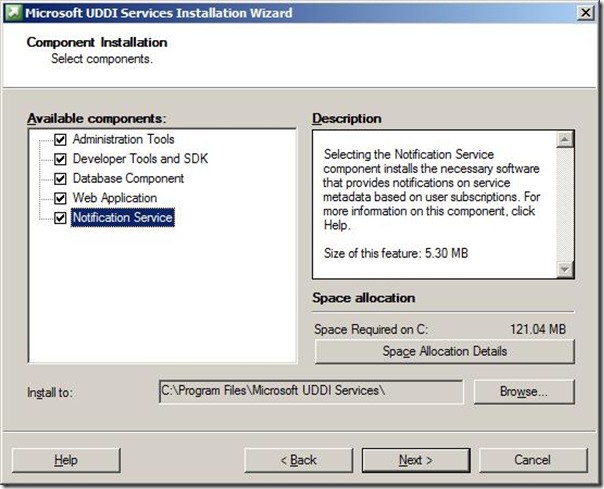
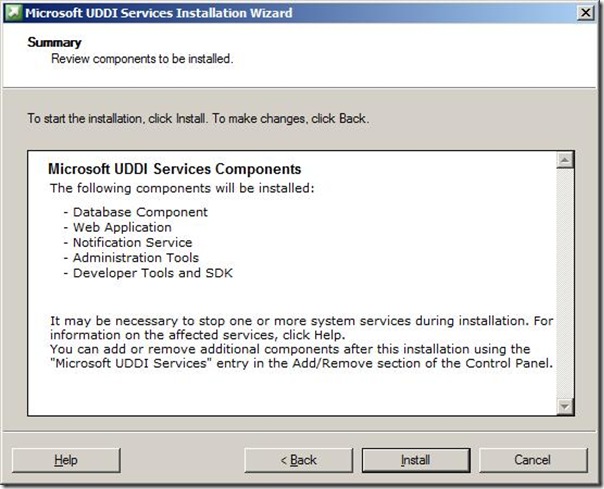
I selected all available components, and clicked install.
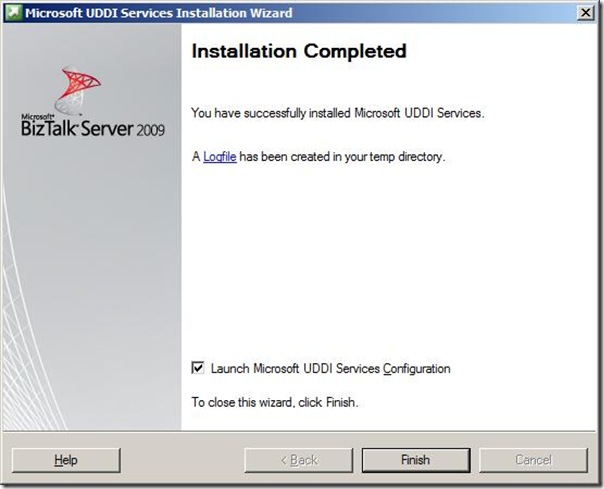
After only a minute or so UDDI services were installed.
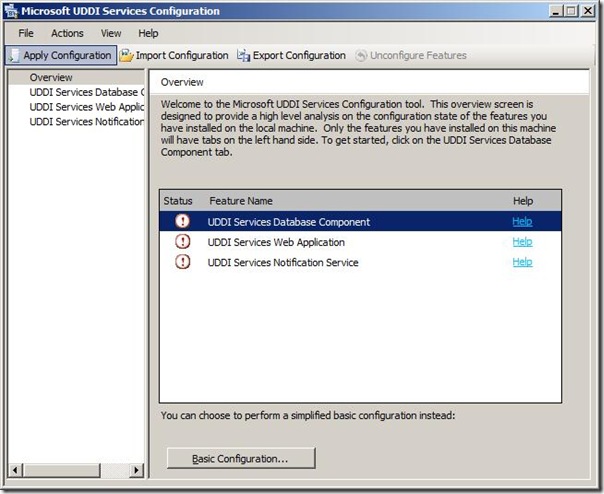
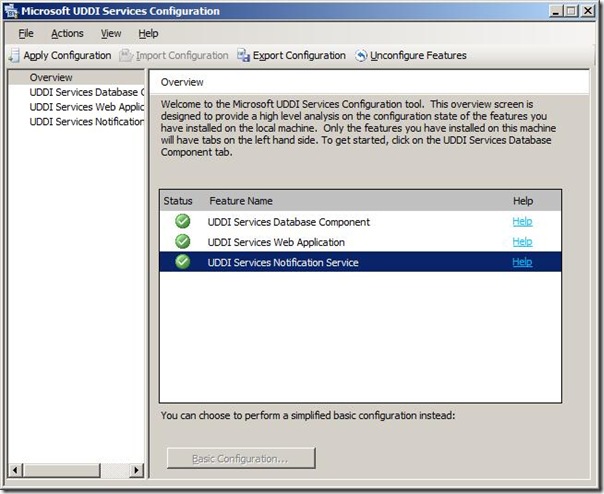
After installation UDDI Services Configuration is necessary; I choose basic configuration see what needs to be done. There are three components that need to be configured:
* UDDI Services Database Component
* UDDI Services Web Application
* UDDI Services Notification Service
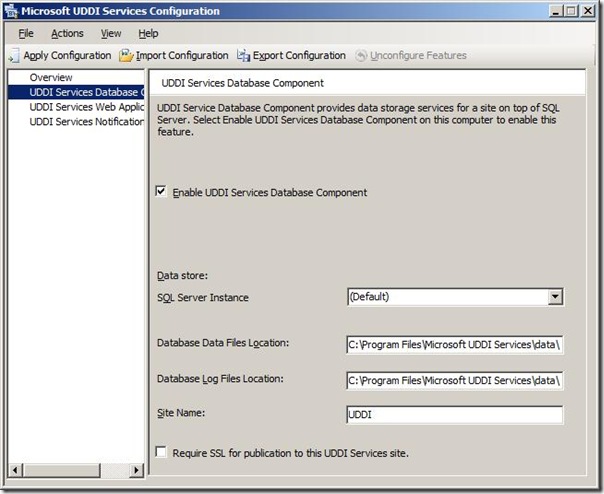
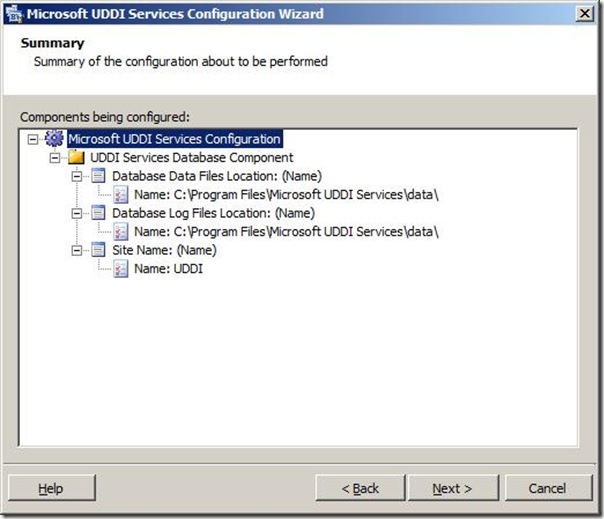
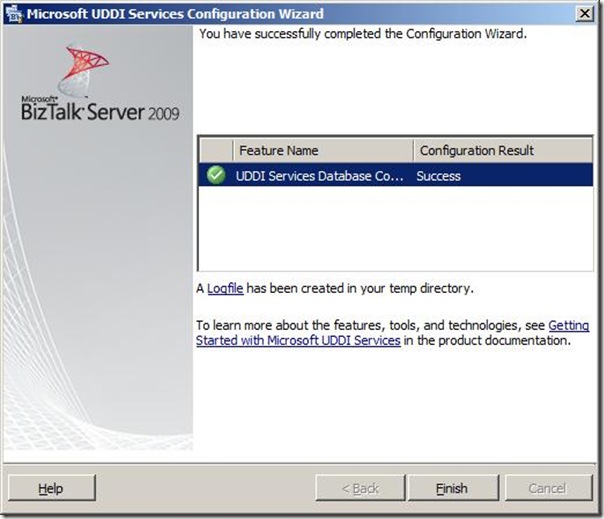
To enable UDDI Service you only need to click component and then check ‘Enable UDDI Services Database Component’. You can then choose SQL Server Instance, Database File and Log Locations and Site Name. I left everything as is except I unchecked SSL for publication of this UDDI Services Site (It is a Sandbox, so SSL is not necessary in my view). Apply configuration and off you go.
BizTalk Server and UDDI 3.0
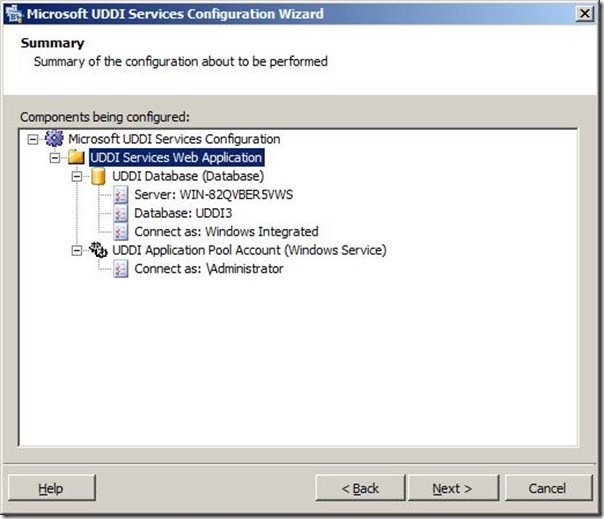
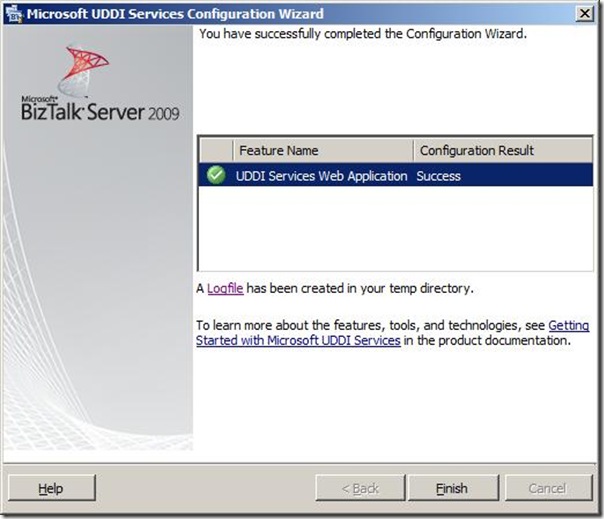
Next component is Web Application. Double clicked component UDDI Services Web Application, checked ‘Enable UDDI Services Web Application’ and left everything as is except for Self-register this site’s services in the UDDI registry and Active Directory, since I do not have and AD on my sandbox. Again apply configuration and of you go.
I then ran into a problem:
Could not load file or assembly ‘Microsoft.Web.Administration, Version=7.0.0.0, Culture=neutral, PublicKeyToken=31bf3856ad364e35’ or one of its dependencies. The system cannot find the file specified.
And solution to this is the following:
FileNotFoundException Occurs When Running ServiceModelReg.exe on Windows Vista
On Windows Vista, ServiceModelReg.exe may fail with the following message:
System.IO.FileNotFoundException: Could not load file or assembly ‘Microsoft.Web.Administration, Version=7.0.0.0, Culture=neutral, PublicKeyToken=31bf3856ad364e35’ or one of its dependencies. The system cannot find the file specified.
This is due to an incomplete installation of the Windows Activation Service (WAS). Ensure that all components of WAS are installed prior to running ServiceModelReg.exe. To do so, complete the following steps:
Open the “Turn Windows Features On or Off” dialog by clicking Start -> Control Panel -> Programs and clicking the “Turn Windows Features On or Off link.”
In the tree view, select the “Windows Activation Service” checkbox.
Expand the “Windows Activation Service” checkbox and ensure the following sub-components are also selected:
– .NET Environment
– Configuration APIs
– Process Model
Click “OK” and wait for the components to finish installing.
Re-run ServiceModelReg.exe to register the WCF activation components with WAS.
These steps will install the minimal set of components required to support WCF service activation over non-HTTP protocols.
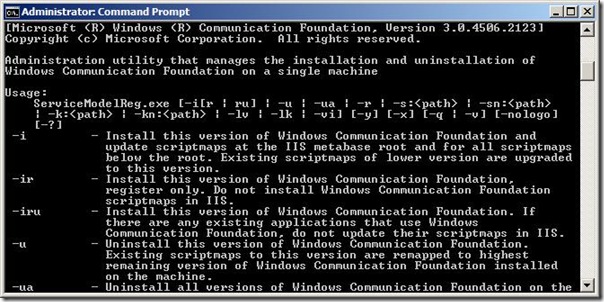
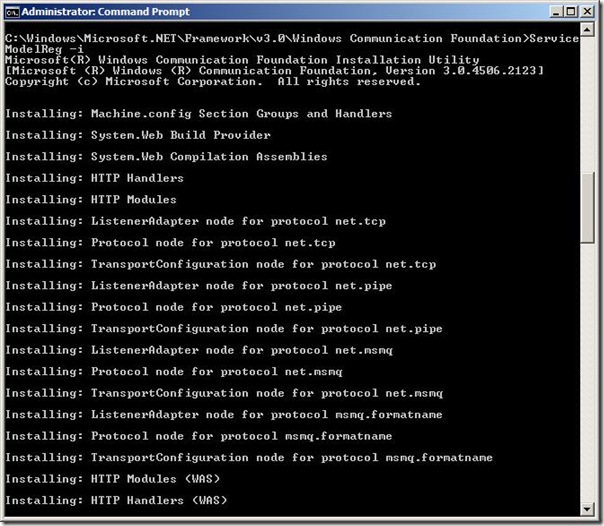
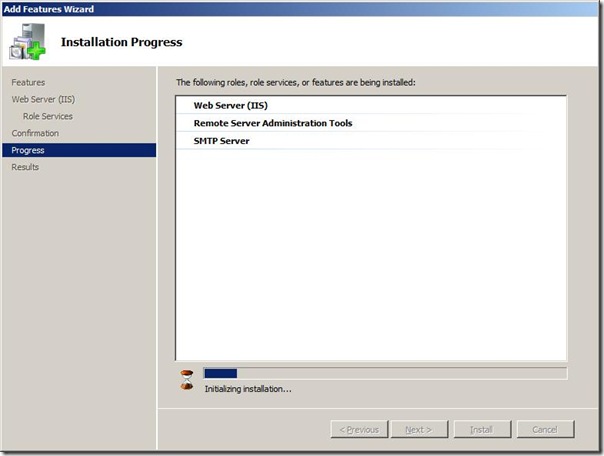
I noticed that Web Server Role was not added as a Server Role on my sandbox. I added Server Role on in my case Window 2008 Server (which is an incomplete installation of WAS). I then open commandbox and performed following command:
C:WindowsMicrosoft.NETFrameworkv3.0Windows Communication FoundationServiceModelReg -i.
(see screens below)
Do not forget if component failed to configure to close UDDI Services Configuration and open it up again.
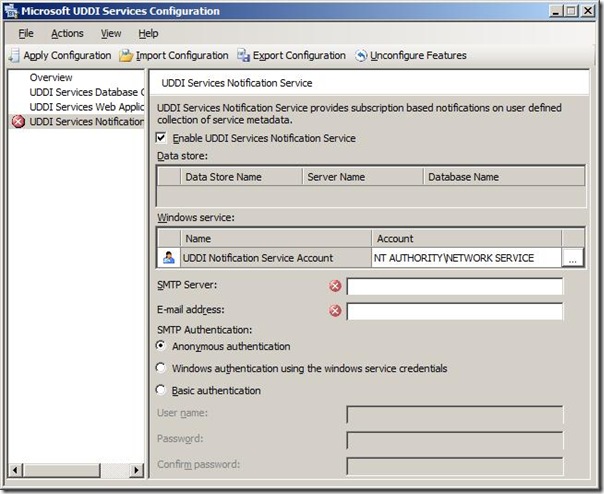
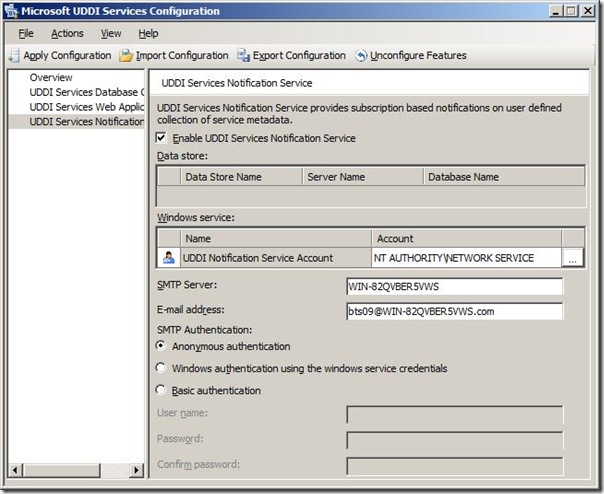
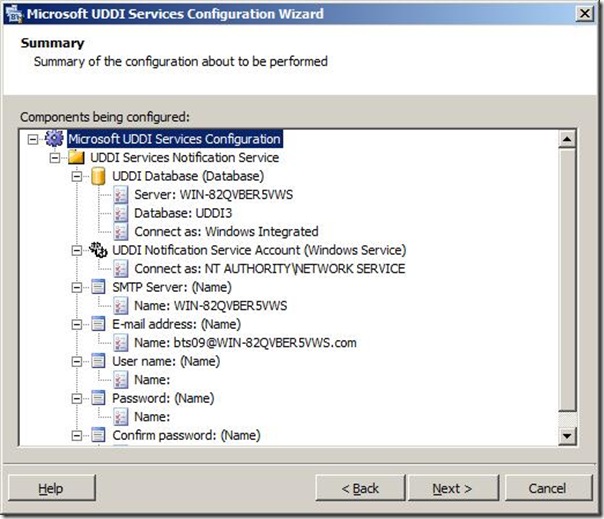
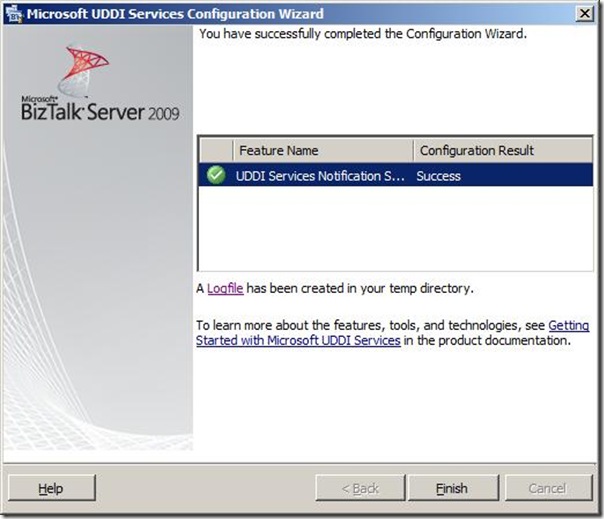
Last but not least is UDDI Services Notification. Double click this component and check ‘Enable UDDI Notification Sercive’. Notice that SMTP Server is needed. In my case another Server Role. I added STMP Server and could then fill in SMTP Server and a bogus email address. I choose Anonymous authentication for convenience and applied configuration. This last step of configuration went successful.
To check if things are up and running I fired UDDI Services Management Console up and noticed both UDDI components (Web and Notification) were running.
Now I am able to check out UDDI as described in article by Richard. If you are in a situation where you want to install UDDI on a machine with BizTalk or other machine hopefully this post will give you some guidance of insight.
Technorati:![]() BizTalk Server 2009
BizTalk Server 2009![]() SOA
SOA
BizTalk Server and UDDI 3.0


